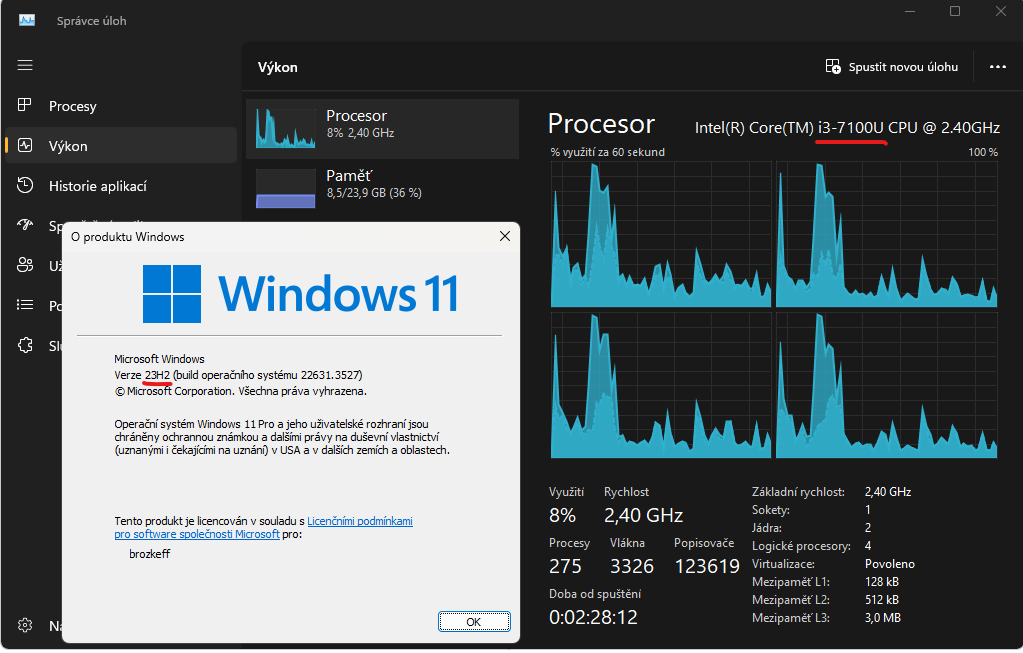
How to get proper DCP (DNG camera profile) for Xiaomi Redmi Note 8T into Lightroom

Xiaomi Redmi Note 8T is a cheap mobile phone (I purchased the lowest-spec version with 3 GB RAM and 32 GB internal storage for 135 EUR incl. VAT in September 2020 in Czechia) but its main camera is actually very good and it gets even better if you push a port of Google Camera into it, start capturing RAW (DNG) and then process these RAW files in Adobe Lightroom using the Adobe Camera Raw engine. Google Camera allows to also use its excellent Night Sight mode which allows you to capture amazing photos in the dark from the hand with very little noise and stunning details. If you are going to get the maximum detail from the DNG RAW files you will however notice that Adobe Camera Raw does not have a proper camera-specific profile for processing the raw files and the colours are very unsaturated and unsatisfactory by default.

However, a user names hyyz17200 posted a DCP for a different Xiaomi phone (Mi8) at xda-developers forum, and fortunately the profile is very suitable also for DNGs taken on Redmi Note 8.

Steps to do:

  1. Unpack DCP file prepared by hyyz17200, change camera name to „Google Redmi Note 8T“ in the XML file, repack it back to DCP, or just download the DCP modified by me for Redmi Note 8T.
  2. Copy the DCP file to C:\Users\[your username]\AppData\Roaming\Adobe\CameraRaw\CameraProfiles\
  3. Open Lightroom Classic and import some DNG from the mobile phone. Open Develop settings and in the right panel open Profiles and switch from Embedded to the newly visible profile „Google Redmi Note 8T“. Suddenly the image should look more or less normal, with properly saturated colours. (See screenshot 1 below)
  4. On the left panel open Presets and create a camera-specific Preset where you uncheck all the other parameters except „Treatment & Profile“. (See screenshot 2 below)
  5. Open Lightroom Preferences -> Presets, check „Override master settings for specific cameras“, in Camera select Google Redmi Note 8T and then in the Default drop-down menu select the newly created Preset that is linked to the new DCP Profile. Confirm. (See screenshot 3 below)
  6. Profit! All future imported DNGs matching this camera name will use the right DCP instead of the default one.

To have the photos properly sharp it may be necessary to use much higher sharpening value than usually for photos from regular camers. I use something between 50-70. Also I usually push Shadows value to 50-75.

Jak funguje eRouška 2.0, Corona-Warn-App aj., a Exposure Notification API

TL;DR: ČR má je aktuálně v době psaní tohoto textu (18.9.2020) nejhorší čísla nakažených na COVID-19 z celé Evropy. Nainstalujte si eRoušku2 (https://erouska.cz/), noste roušky, nedělejte blbosti, dávejte na sebe i druhé pozor.
Pokračování textu Jak funguje eRouška 2.0, Corona-Warn-App aj., a Exposure Notification API

Jak zobrazit vzdálenou plochu (RDP) na 2 monitorech ze 3 (či více)

Je nutná minimálně verze Win10 19.03 (18362).

  1. Zobrazit čísla monitorů pro klienta vzdálené správy: mstsc.exe /l , pokud má každý monitor stejné rozlišení a nejde snadno poznat, který je který, nejdřív každému monitoru dát jiné rozlišení aby bylo jasné, jaký layout monitorů ve skutečnosti je
  2. otevřít .rdp soubor v poznámkovém bloku či Notepadu++ a tam upravit ručně řádky:
    use multimon:i:1
    selectedmonitors:s:0,1
    kdy multimon je podmínka pro vícemonitorové rozložení, a selectedmonitors je čárkou oddělený seznam ID monitorů, kde se má vzdálená plocha zobrazovat.
  3. modrá horní lišta co vyjede když se nahoru vzdálené plochy najede se bohužel může zobrazovat na úplně jiném monitoru (tom třetím), patrně tom co je ve Windows jako “primární”. Pokud je primární tím jediným, na kterém nemá být ta vzdálená plocha tak to ideální není. Podporu prý Microsoft přidal teprve nedávno po deseti letech, kdy to marně uživatelé nemohli použít, ačkoli 3 a vícemonitorové rozložení už dávno existuje. GUI RDP klienta to stále neumí nastavit.

Zdroj: https://superuser.com/a/1490431